How Azure Resource Visualizer Works
Efficient Resource Mapping with Azure Resource Visualizer
Overview
In a scenario where you’re pressed for time and require an immediate diagram of your environment, wouldn’t it be convenient if there was a method to simply select your resources and automatically generate a comprehensive diagram? This diagram would not only display all the resources within your environment but also illustrate the relationships among them. Fortunately, Azure now offers a solution to fulfill this need.
Azure Resource Visualizer is a powerful feature integrated into the Azure portal that provides an interactive and visual representation of your Azure resources and their dependencies. It allows you to gain a comprehensive overview of your resource architecture and understand the relationships between different resources.
To use Azure Resource Visualizer
- Sign in to the Azure Portal.
- In the Search box, search for Resource group and choose Resource group from the result.
- In the Resource Groups pane, choose the required Resource group and click Resource Visualizer.
Note: By default, the diagram shows all resources in the subscription.

- To filter the resources, click Choose Resources.
The Resources pane appears.
- Choose the required resources to appear in the diagram.
The selected resources diagram appears.
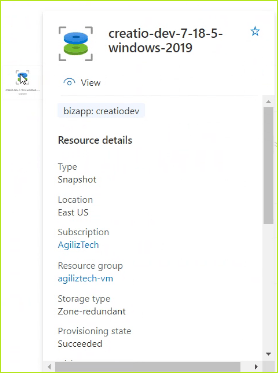
Tips: Hovering over a resource box displays a tooltip showing details such as resource type, name, and resource group.

- To export the diagram for further analysis or documentation, click Export PNG in the top-right corner of the Azure Resources Visualizer pane.
This downloads the diagram as a PNG image file.
That’s it! You can now use Azure Resources Visualizer to explore and understand the relationships between your Azure resources visually and intuitively.
