Amazon Network Load Balancer Creation: Procedures
Creating Amazon Network Load Balancer
Overview
Amazon’s Network Load Balancer operates on the fourth layer of the Open Systems Interconnection (OSI) model, enabling efficient handling of millions of requests every second. Upon receiving a connection request, the load balancer intelligently chooses a target from the designated target group based on the default rule. It then proceeds to establish a TCP connection with the selected target, utilizing the port specified in the listener configuration.
To create an Amazon network load balancer
- Sign in to the AWS Management Console.
- In the Find Services box, type EC2 and choose EC2 from the results.
- In the left pane, under Load Balancing, choose Load Balancers.
The Load Balancers pane appears.
- Click Create load balancer.
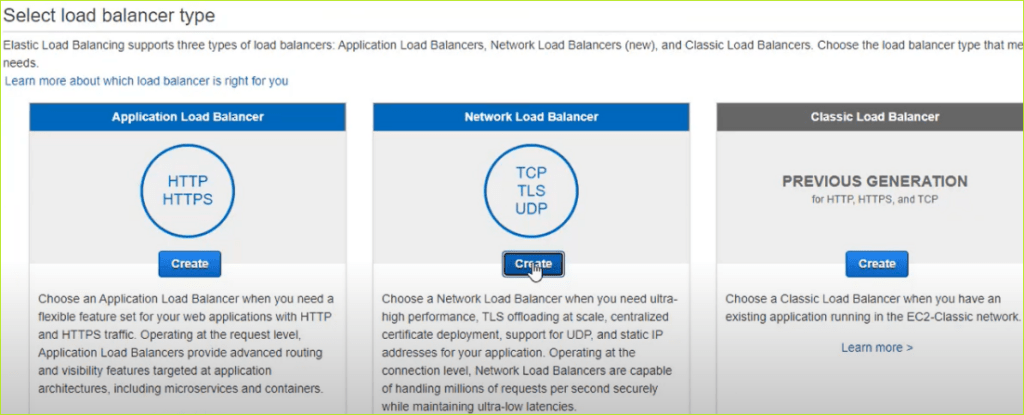
The Load balancer types pane appears.

- Under Network Load Balancer, click Create.
The Create Network Load Balancer pane appears.
- Under Basic configuration, do the following:
- In the Load balancer name box, enter a name for the load balancer.
- For Scheme, click Internet-facing.
- For IP address type, click IPv4.
- Under Network mapping, do the following:
- In the VPC list, choose the virtual private cloud for the targets.
- For Mappings, select the checkbox for the availability zones. You can select one subnet per availability zone.
- Under Security groups, in the Security groups list, choose a security group or create one.
- Under Listeners and routing, do the following:
- Under Listener HTTP:80, in the Default action list, choose a target group or click Create target group to create a new target group.
- Click Add listener tag (optional) to add a tag.
- To add another Listener, click Add listener.
- For AWS Global Accelerator (optional), select the checkbox to create an accelerator and associate the load balancer with accelerator.
- Under Load balancer tags (optional), choose Add tag, and enter the key and value.
- Under Summary, review the configuration details and click Create load balancer.


